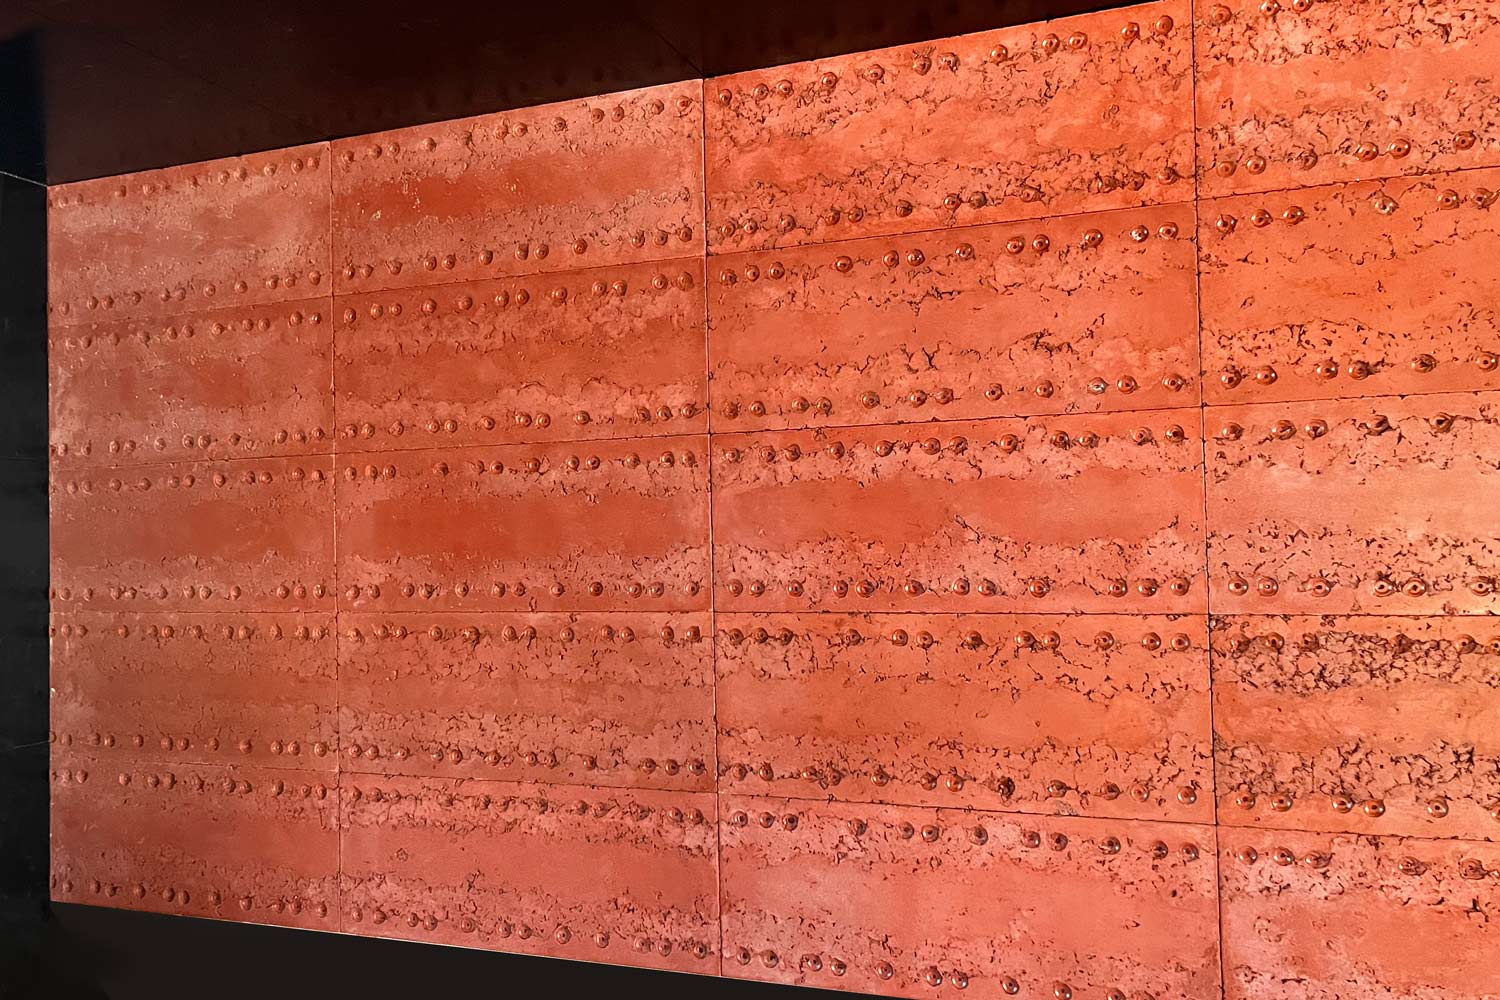


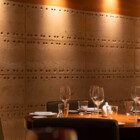
Description
Standard Sizes
- 1000 x 1000 x 20 mm
Use: Internal or external | Installation: Adhesive or bracket system | Weight: 18kg/m2/10mm
More sizes on request. Minimum order 10m2.
Colour Range

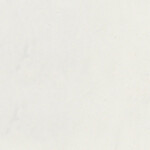
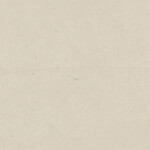


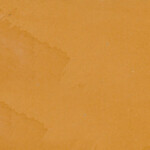
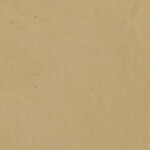
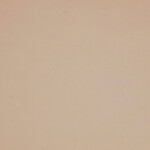
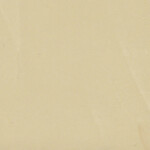

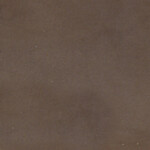
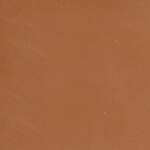
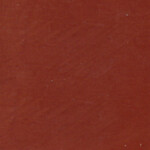
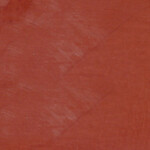
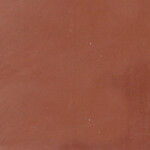
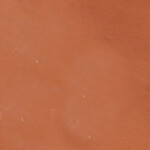
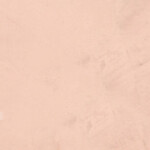
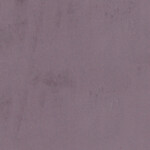
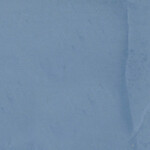
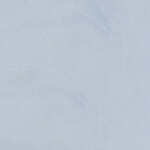

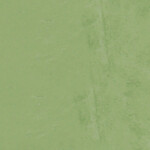
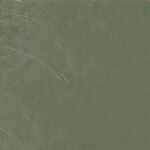
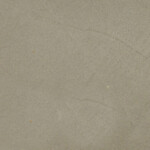

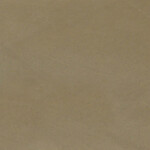
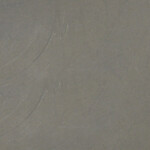
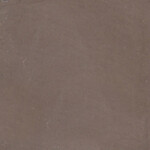

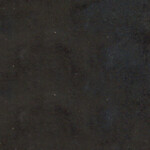

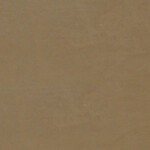
Surface Textures:
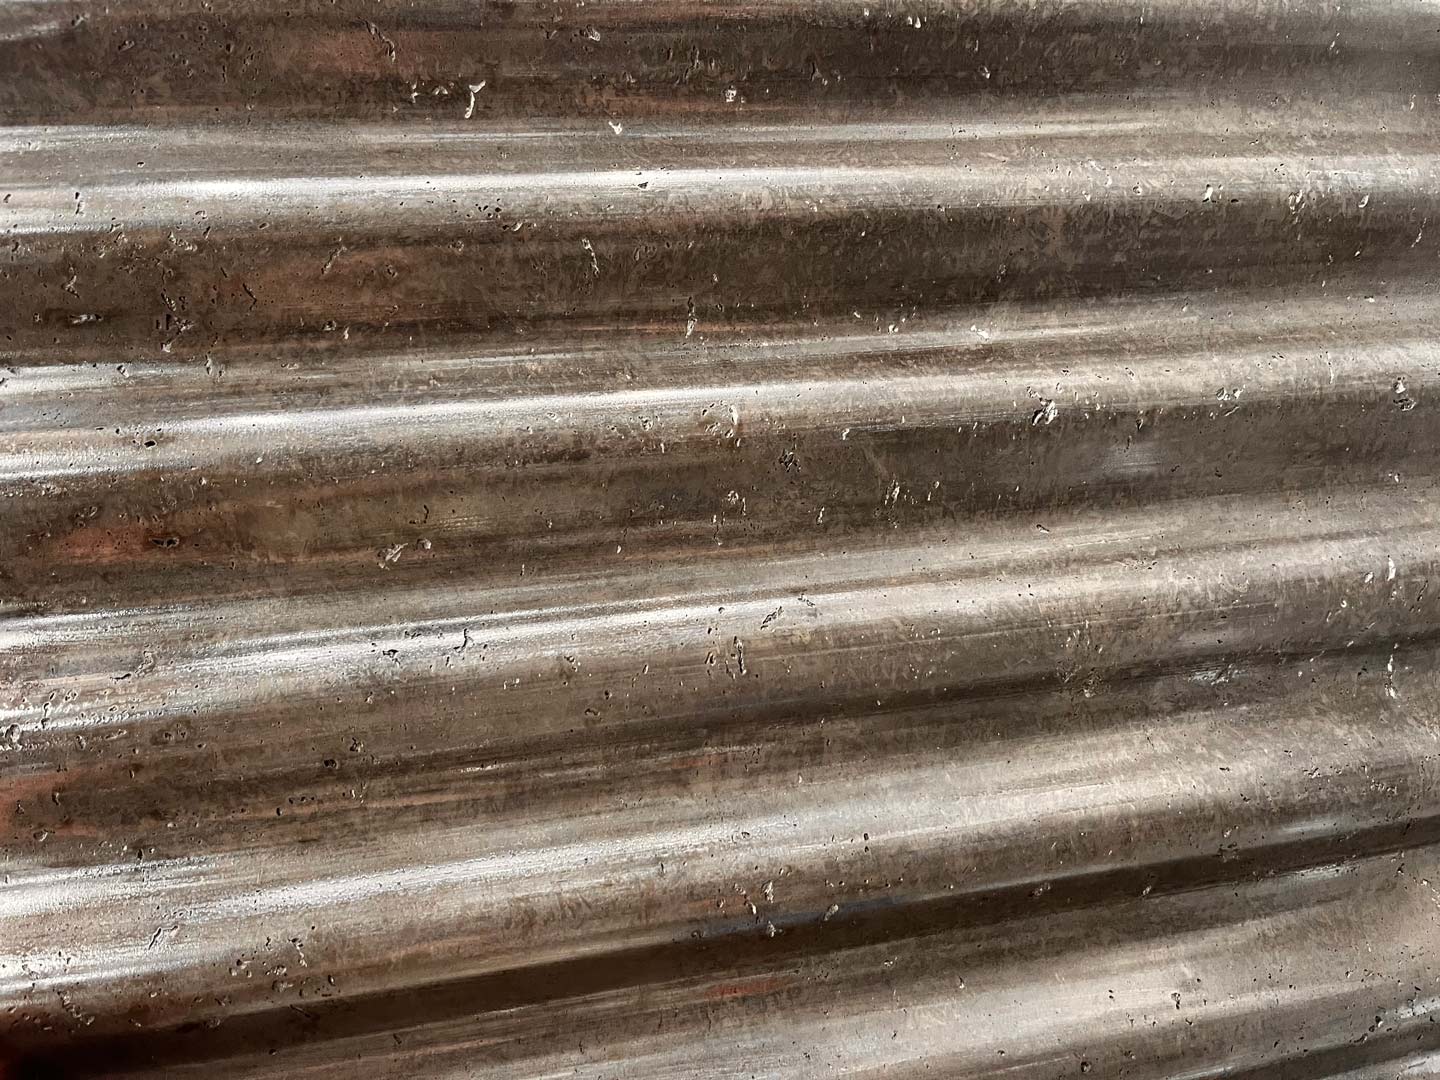
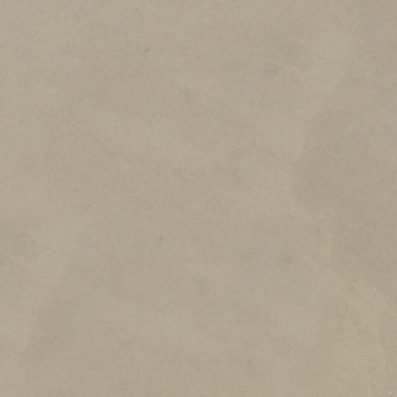
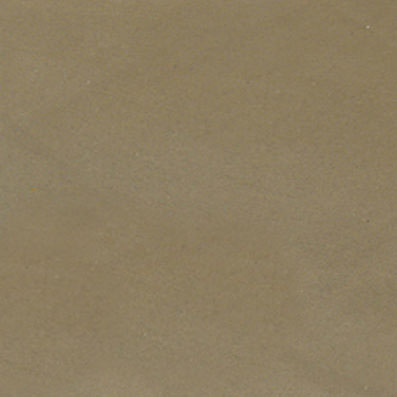
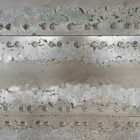
Silk (Smooth) – Rough (Pitted)
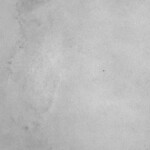
Silk
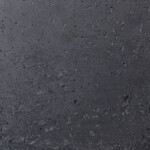
Rough
Finishes: Unsealed or a choice or Matt, Satin or Gloss (we recommend sealing to limit staining). Give our team a call to discuss your requirements.
Technical Information
GRC CONCRETE FEATURES
- Suitable for floor and wall installation both indoor and outdoor
- Large format panels with superior strength
- High mechanical resistance and UV stability
- Available in different textures and colours
COMPOSITION
- Cement
- Selected sand
- Specially designed additives and UV stable pigments
The GRC Ultra High Performance Concrete panels stand out because of their versatility, durability and high hardness, making them suitable for all types of applications.
MECHANICAL PROPERTIES
- Yield strength (modulus of rupture): 5-8 mpa
- Tensile strength (modulus of rupture): 2-5 mpa
- Compressive strength: 20-30 mpa
- Impact strength: 5-10 KJ/m2
- Thermal expansion coefficient: 20 x 10-6/°C
- Absorption: Low water permeability
- Dorry wear: 2.5 mm
NOTE: These values are for reference only and are estimated as formulation. They may vary according to formulation, treatment and manufacturing processes.
TOLERANCES
- Thickness +/-5%
- Side straightness: +/-0.5%
- Orthogonality: +/-0.6%
- Planimetry: +/-0.5%
- Length and width +/-0.6%
COLOUR VARIATIONS
Because of its cementitious composition the colour of GRC panels may have different textures and tones within the same panel and / or in comparison to other panels in the same batch. Our colour selection chart is for reference use only and the colours are as close as possible to the original colours.
VERIFICATION OF THE AESTHETIC APPEARANCE
Please check and ensure that you are happy with the delivered product and there are no apparent visible defects. If any issues are detected do not start the installation and contact supplier immediately. No claims will be accepted after tiles have been installed.
DELIVERY AND PACKAGING
- Secure packaging for each tile
- Palletised delivery
- Installation data sheet
CLEANING & MAINTENANCE
- Clean with fresh water and a neutral pH detergent
- Do not use any aggressive cleaning agents or any other chemicals that are reactive to concrete or sealant
- To clean specific stains do not use abrasive materials
- Do not leave standing water on the surface
- Do not leave stains to dry, as they may permanently stain the surface
- For outdoor apply sealant periodically depending on usage
- Sweep or vacuum the surface regularly to remove all dirt and dust
Product PDF - download
EPD Certificate - View here
Installation Guide
CONSIDERATIONS BEFORE INSTALLING GRC PANELS
- Keep packaged until installation
- Do not force the panels over uneven surfaces
- Always store horizontally
- Do not place loads on the panels
- Level the sub-wall correctly before starting the installation (+/- 2 mm in 3 m)
- GRC panels are not rectified, they can have variations of 0.6%.
INSTALLATION GUIDE – WALLS
- Base: solid flat surface
- There can be no rising or negative humidity
- Verify that the base wall is levelled (+/-2 mm in 3 meters)
- Allow for the perimeter joints and joints against objects from the base
STORAGE
- Panels should be kept in a horizontal way
- Do not leave the panels in a vertical or inclined position or leaning against any surface
- Keep in a dry, clean space in the original packaging
(1) DIRECT WALL INSTALLATION WITH ADHESIVE
TOOLS AND MATERIALS NEEDED
- Spirit Level
- Primer, sealer and Polyurethane / Epoxy adhesive
- Screws and anchors
- Tape measure
- Cradle Caulking Gun
- Ladder /Scaffold tower/ Access platform
- Tile Spacers
- Angle grinder
- Sandpaper
- Paint Tray
- Microfibre roller
STEP BY STEP MANUAL INSTALLATION
- The wall should be levelled (+/-2 mm in 3 meters)
- Sand the wall to remove any loose elements
- Apply primer if needed
- The base has to be firm. Verify with a sharp tool
- Define the way of installation according to the aesthetic wanted
- Begin the installation of the panels from the bottom up
- Apply adhesive as per manufacturer’s recommendations
- Install panels applying pressure until initial grab
- If necessary use T screws on the panels joint to fix them. Once the adhesive is dry remove the screws
- Panels joints can be butted, left with shadow gaps or filled with flexible tile grout
- Seal the panels with Water Based Sealer, POLIFAN PU K14 or acrylic WAX
(2) DIRECT WALL INSTALLATION USING INVISIBLE FIXINGS
TOOLS AND MATERIALS NEEDED
- Bracket system
- Spirit Level
- Sealer
- Screws and anchors
- Tape measure
- Cradle Caulking
- Ladder/Scaffold tower/ Access platform
- Angle grinder
- Sandpaper
- Paint Tray
- Microfibre roller
- Safety equipment
STEP BY STEP MANUAL INSTALLATION
- The wall should be levelled (+/-2 mm in 2 meters)
- Sand the wall to remove any loose elements
- The base has to be firm. Verify with a sharp tool
- Define the way of installation according to the aesthetic wanted
- Install bracket system
- Begin the installation of the panels from the bottom up depending on design
3. WALL INSTALLATION USING VISIBLE MECHANICAL FIXINGS
TOOLS AND MATERIALS NEEDED This method is used when mechanical or chemical fixing is required
- Spirit Level
- Drill /driver
- Primer, sealer and Polyurethane / Epoxy adhesive
- Screws, anchors and concrete or metal caps
- Tape measure
- Cradle Caulking Gun
- Ladder /Scaffold tower/ Access platform
- Tile Spacers
- Angle grinder
- Sandpaper
- Paint Tray
- Microfibre roller
- Safety equipment
STEP BY STEP MANUAL INSTALLATION
- The wall should be levelled (+/-2 mm in 2 meters)
- Sand the wall to remove any loose elements
- Apply primer § The base has to be firm. Verify with a sharp tool
- Define the way of installation according to the aesthetic wanted
- Begin the installation of the panels from the bottom up
- Apply adhesive as per manufacturer’s recommendations
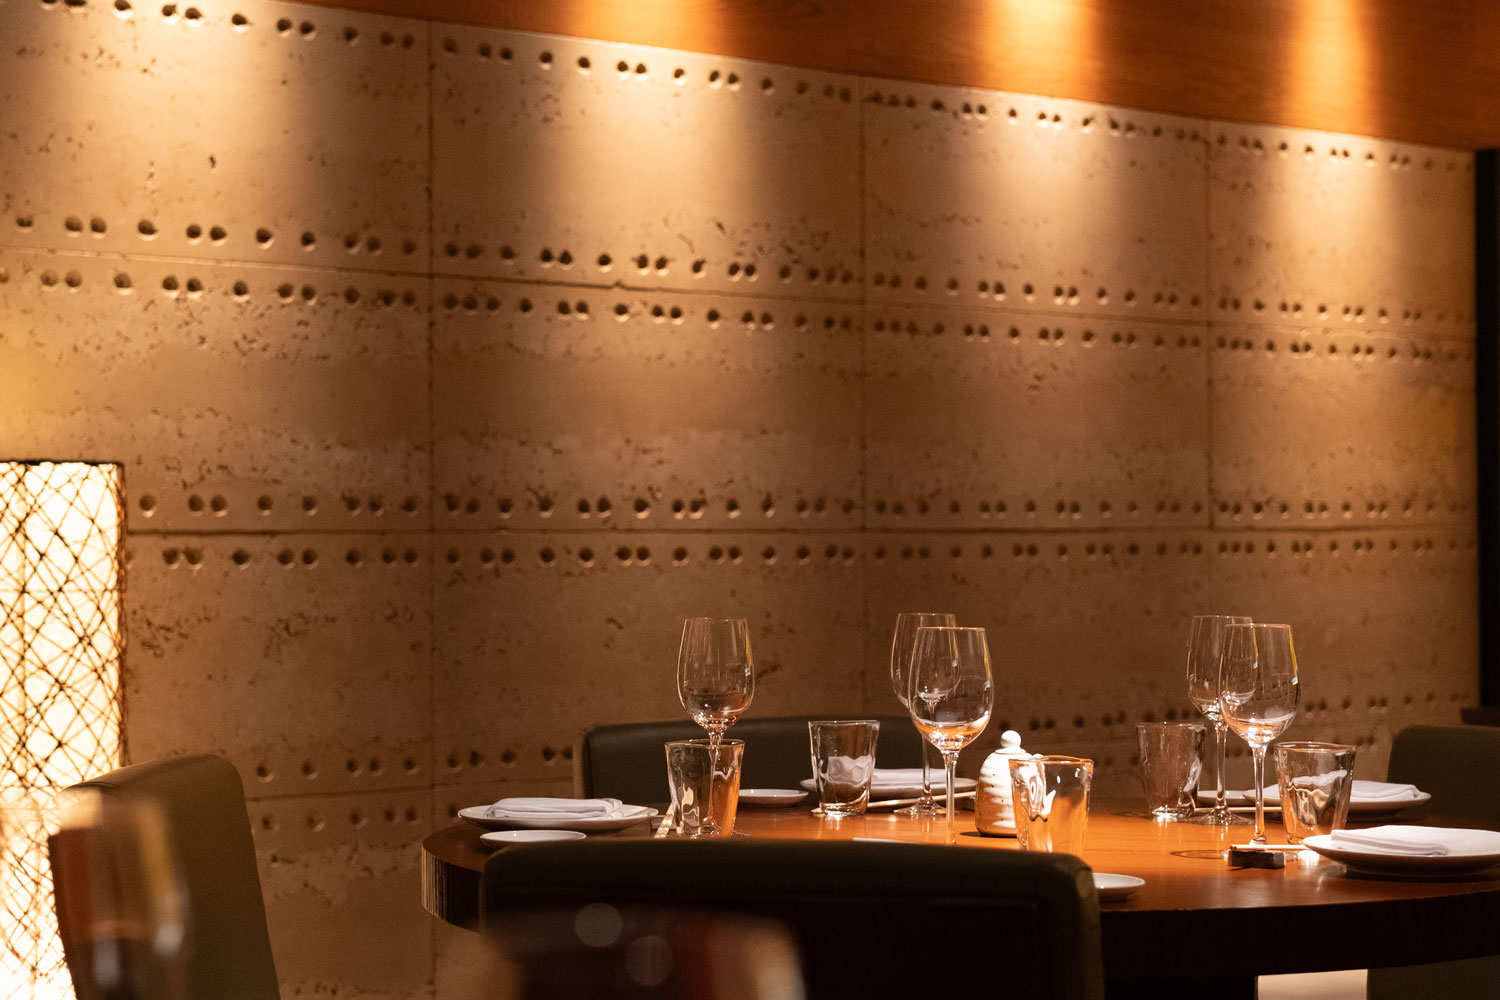
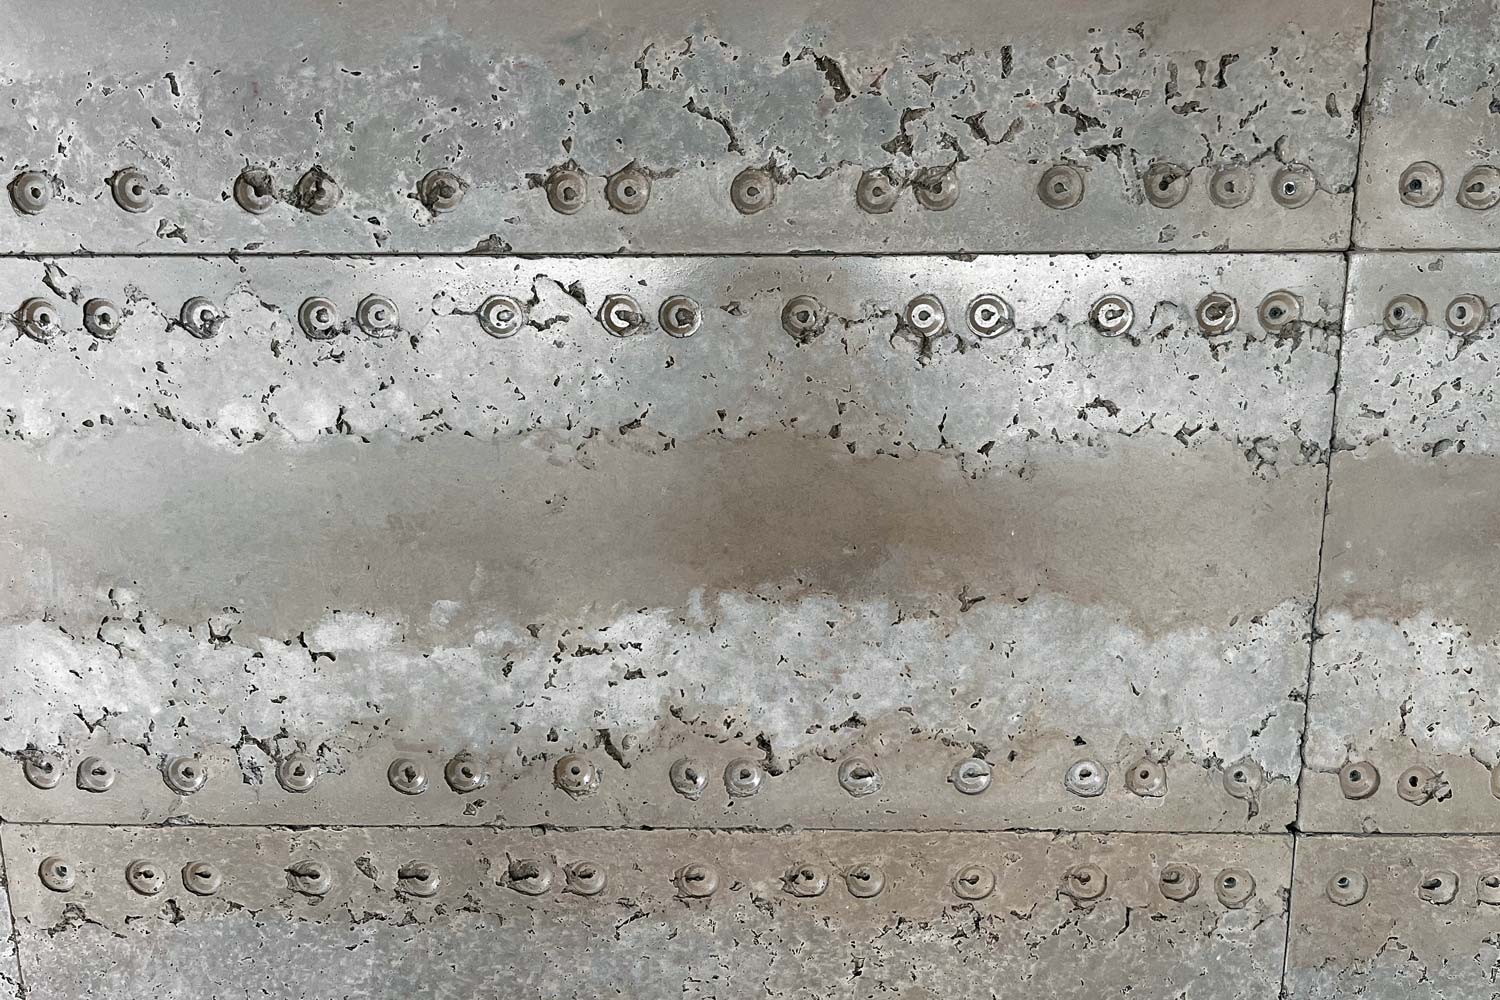
- Install screws / bolts and metal or concrete caps in various colours
- Seal the panels with Water Based Sealer, POLIFAN PU K14 or acrylic WAX